
I’ve been meaning to write this post for ages, but for whatever reason have never quite got around to doing it. However, having just spent the afternoon experimenting with my new copy of Adobe Photoshop Elements 11 it inspired me to just get on and write it!!
Being a full time working mummy plus with
a house move on the cards, I knew that I was not going to have that much time
to plan our wedding. (Although, I did briefly flirt with the idea of making my
own wedding cake…. thank you to Sprout’s Grumpy(Granny) a.k.a my Mummy for talking
me out of that idea!!) So there were only a couple of things I decided to do
myself; one was the table plan and the second was the napkins.
So here’s a quick DIY guide to how I made
my wedding napkins –
As we were having a December wedding, I
chose snowflakes as my ‘theme’ (loosely) and found these fab wooden ones
online.
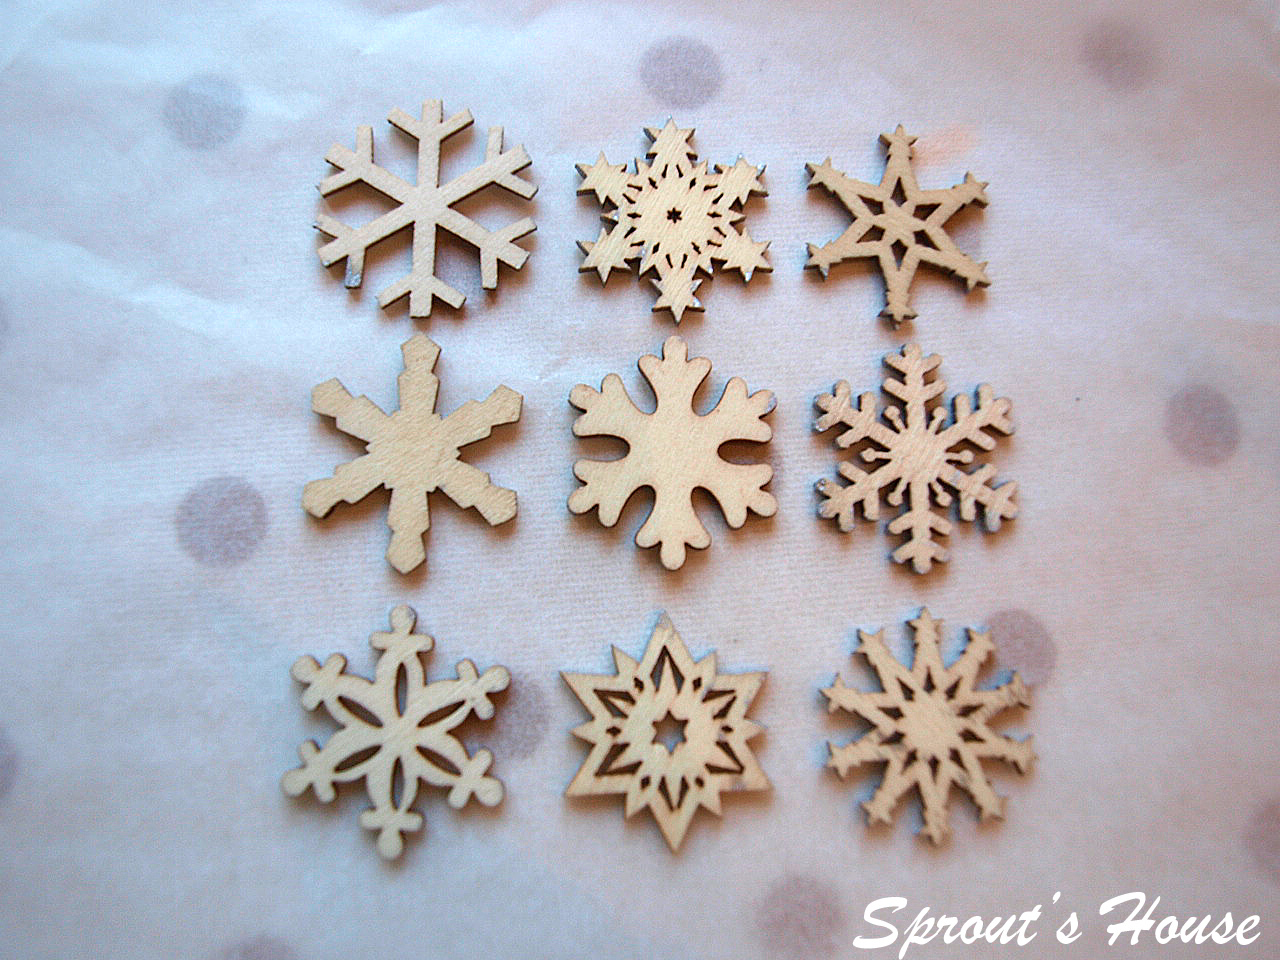
In fact, I originally thought they could
be place names, but when they arrived they were only 3cm wide – mental note to
self, read the product description more carefully! So back to the drawing board,
we found some lovely silver ribbon at Hobbycraft as well as a box of mini
glue dots and a couple of cans of Plasti-cote – one silver and one glitter.

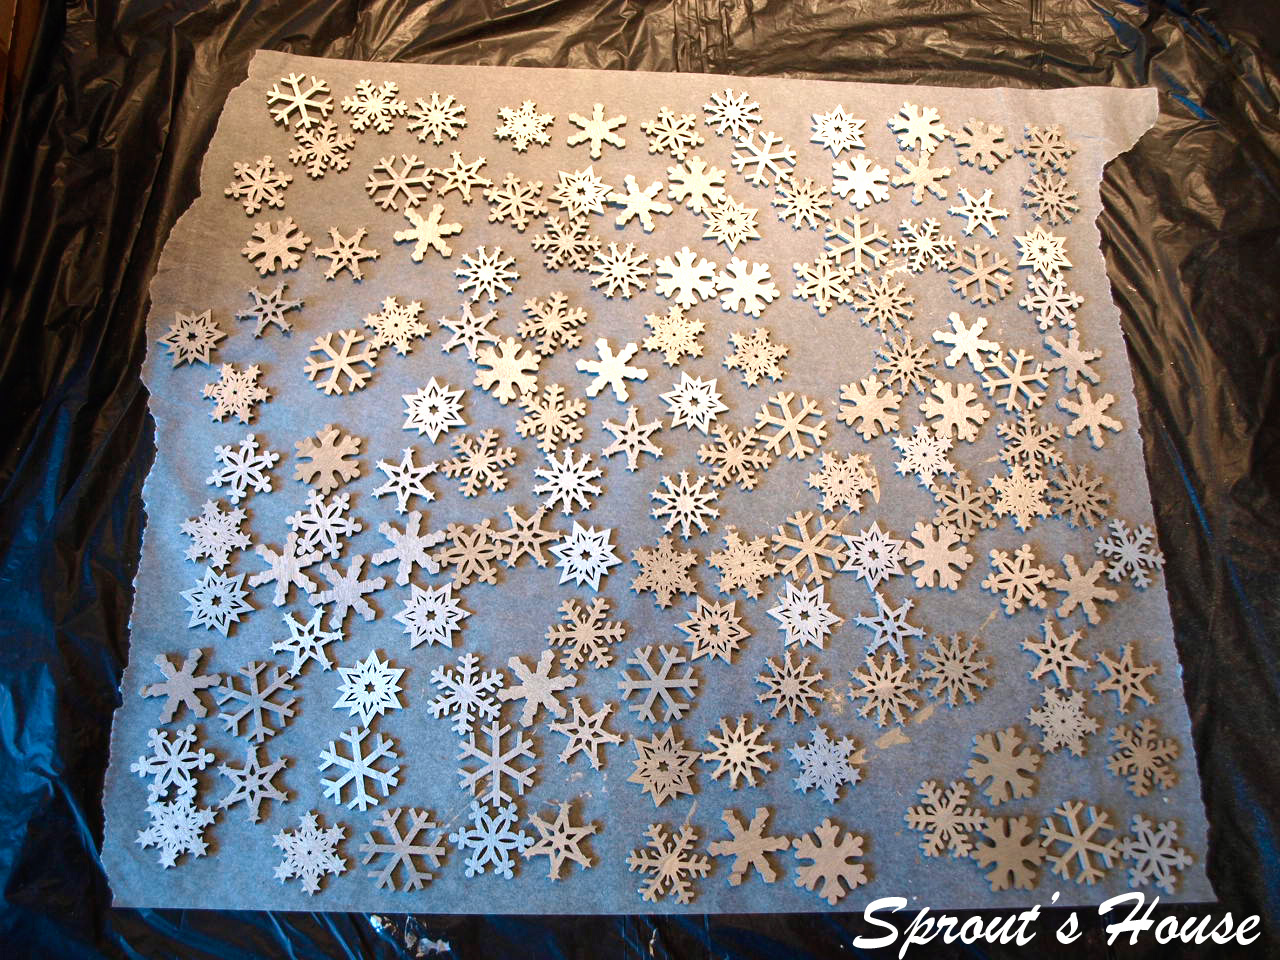
After a little experimentation, we decided
that each snowflake needed to be sprayed silver before receiving a final coat
of glitter to achieve the look we wanted. The whole process took me a couple of
days as I was distracted by the move, but you could probably do it in one if
you don’t have any anything else on. Top Tip: Put the snowflakes on greaseproof
paper before spraying them. This meant they didn’t stick and were really easy
to flip over in order to spray the other side.

Once all the spraying was done, we
measured how much ribbon we would need to wrap around each napkin. In the end,
I think we budgeted about 30cm per napkin. Remember to allow enough ribbon for
the ends to overlap and position the overlap in the centre of the napkin!

The overlapped ends were stuck together with a mini glue dot, and then another glue dot was used to stick a snowflake over the join.
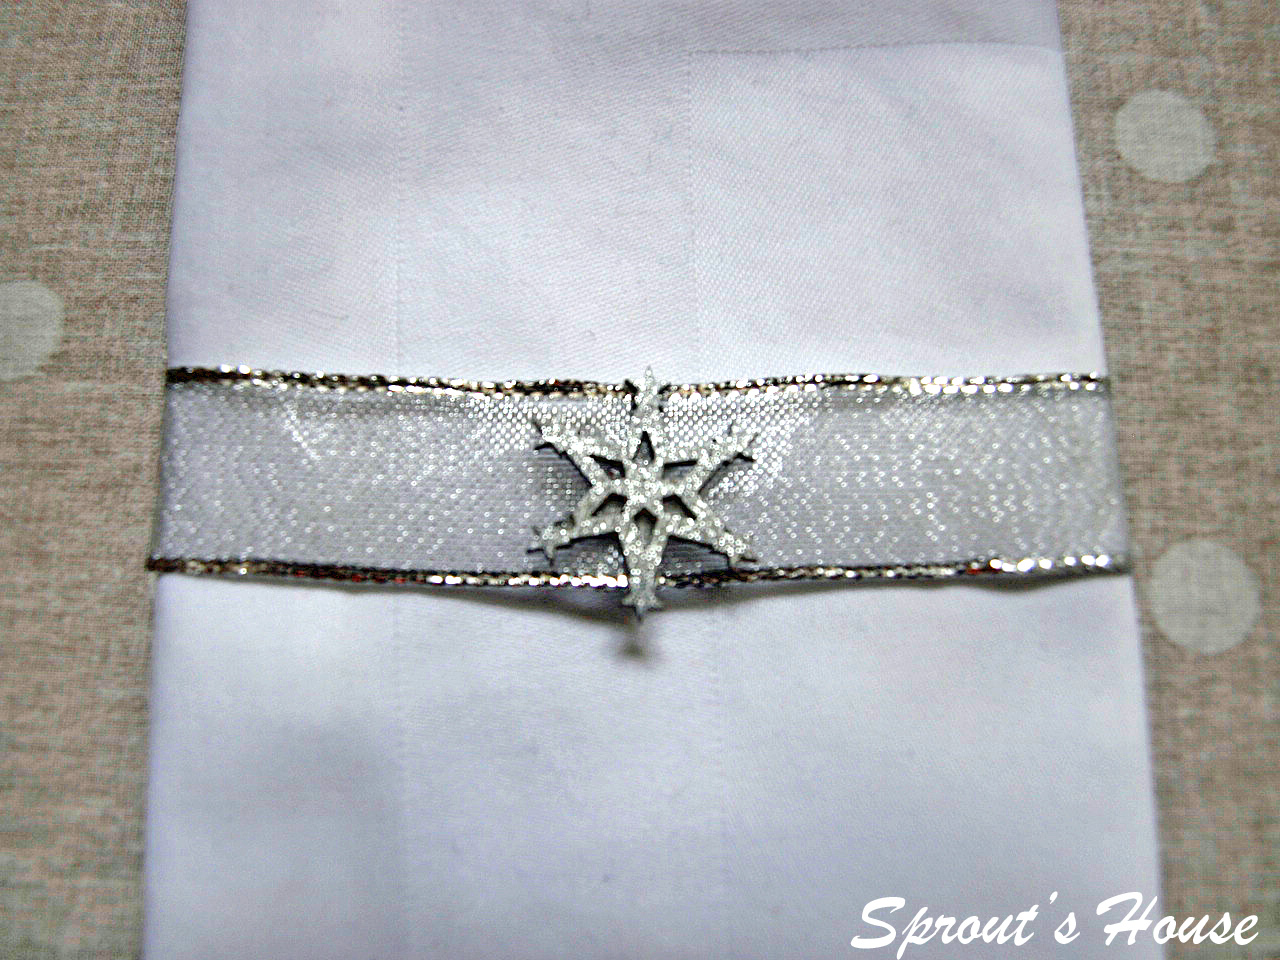
So here's one of the finished products - in reality I think I made about one hundred and ten of these!!
It would be really
easy to create different versions. I bought my wooden snowflakes from here and they stock lots of different wooden shapes you could
use. You can also pick up ribbon really cheaply from a variety of places,
including Hobbycraft.
So hands up who's feeling inspired to create something this
weekend?
I hope
you have the chance to get outside and enjoy the sunshine.
Linking up at All Things Thursday!
Linking up at All Things Thursday!
Sprout’s House

Cute idea. I would love it if you joined and contribute your awesome posts at my link party at City of Creative Dreams on Fridays :D Hope to see you there at City of Creative Dreams Link Party!
ReplyDeleteI was just at Hobby Lobby picking up the flowers for my wedding bouquet. I'll be working on that tonight, hopefully. I only have 8 weeks to go! Eeek!
ReplyDeleteYour napkins are super cute. I decided to let the venue handle all that (destination wedding, sort of... 4 hour drive for everyone). I'm only making my bouquet and the invitations.